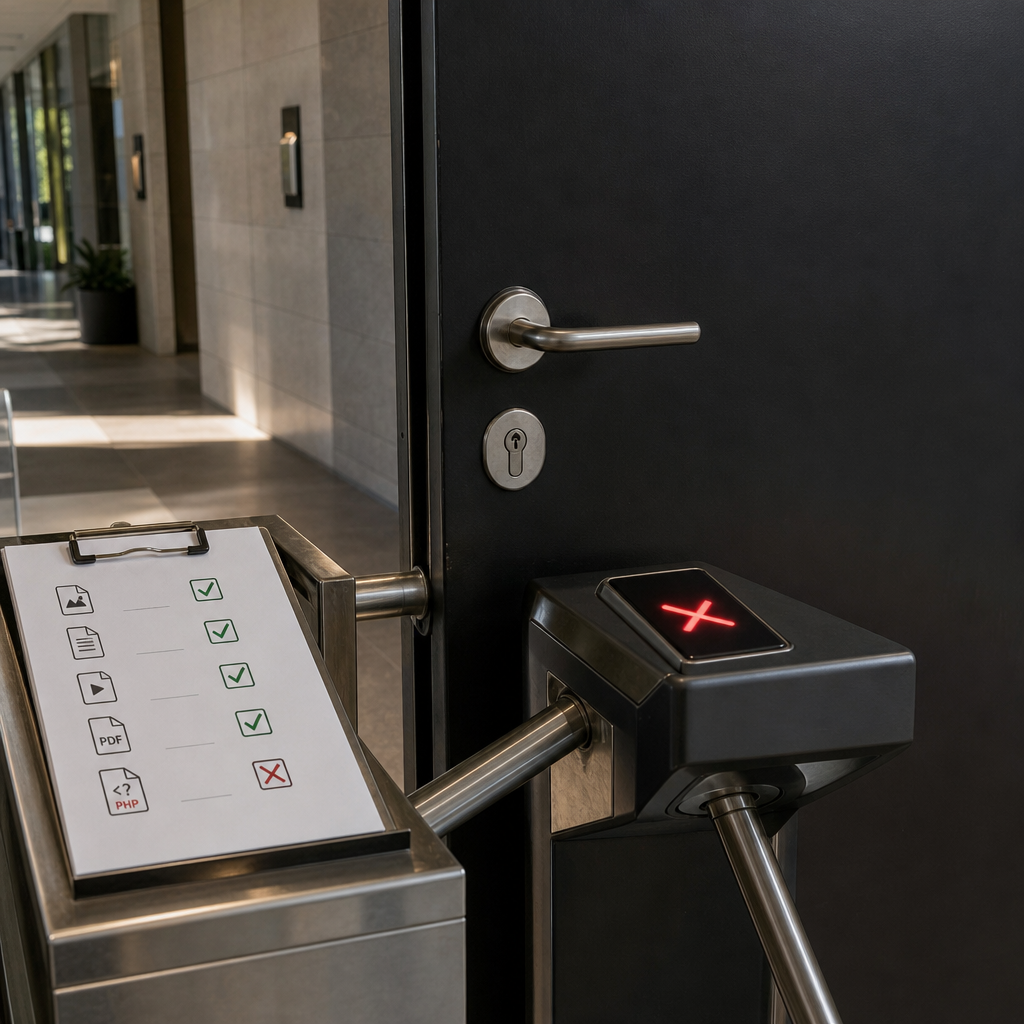
The wp-content/uploads directory in WordPress is intended for images, videos, documents, and other media files. Under normal site operation, PHP code is not needed there. If an attacker or a vulnerable plugin allows a PHP file to be uploaded to this directory and the web server attempts to execute it, this may provide a path to compromising the site.
Disabling PHP execution in uploads is a simple security barrier that limits the impact of errors in upload validation. Below are options for Apache and Nginx, verification steps, and common mistakes. This complements a secure WordPress configuration; it does not replace updating the CMS and plugins or controlling allowed file types.
Why the uploads directory should be protected
A file with a .php extension in a web-accessible directory is dangerous only if the server passes it to the PHP interpreter. In that case, a request to a URL such as /wp-content/uploads/test.php could execute code with the permissions of the web server user.
This type of incident often begins not with direct administrator access, but with a vulnerability in an upload form, plugin, or custom code. Even if WordPress checks the extension, an error in that validation or a filter bypass may allow a malicious file to be stored.
A web-server-level restriction works independently of WordPress. Even if a file reaches uploads, the server should not execute it.
- Images, PDFs, and other permitted media files continue to be served as static content.
- An attempt to run a PHP file should end with a 403 response or, depending on the configuration, a 404 response.
- The protection reduces risk, but it does not remove malicious files that already exist or fix a vulnerable plugin.
How to disable PHP in uploads on Apache
For sites running on Apache, the most convenient approach is to add a rule to an .htaccess file directly inside the wp-content/uploads directory. This works only if the hosting provider allows directives through .htaccess and no AllowOverride restriction has been set for the directory.
Add the rule without removing existing safe directives if they are required for the site to operate:
<FilesMatch "(?i)\.(php|phtml|phar)$">
    Require all denied
</FilesMatch>
What this rule does
FilesMatch identifies files with extensions that may be used for executable PHP code, while Require all denied blocks access to them. The (?i) flag makes the check case-insensitive; for example, the rule also covers a file named shell.PHP.
Older Apache configurations may use 2.2 syntax based on Order and Deny from all. Do not add both variants at random: an incorrect directive may cause a 500 error. If you do not know the Apache version or compatibility mode, check with your hosting provider.
- Place the rule specifically in uploads or in the configuration of the relevant VirtualHost.
- After making the change, check the Apache error log if the site starts returning 500 errors.
- Do not block the entire uploads directory, otherwise images and documents will no longer open.
How to disable PHP in uploads on Nginx
With Nginx, rules are usually added to the server configuration for the relevant site. Nginx does not read .htaccess files, so creating one will not change anything.
Example of a separate rule for the standard WordPress path:
location ~* ^/wp-content/uploads/.*\.(php|phtml|phar)$ {
    deny all;
}
Nginx configuration considerations
This rule blocks requests to executable files in the uploads URL path before they reach PHP-FPM. After editing the configuration, you must test it and then reload Nginx correctly. The exact commands depend on access permissions and the server management system.
If the server has a general regular-expression rule that passes all .php files to PHP-FPM, the order and logic of the location blocks matter. Do not change a working configuration without a backup and syntax validation. On managed hosting without access to the server configuration, ask support to perform this task.
For WordPress Multisite or a non-standard site structure, the uploads path may be different. Use the actual media-file URL and the configuration of the relevant VirtualHost as your reference.
- Do not use deny all for the entire /wp-content/uploads directory.
- Verify that the rule covers uppercase letters and alternative executable extensions.
- After reloading, make sure Nginx has no configuration errors.
How to verify that the protection works
Perform this check after making changes and after every site migration. For testing, create a temporary file such as security-test.php in wp-content/uploads with harmless content. Do not use real malicious code for the test.
Open the file URL in a browser or make an HTTP request from the server or a local computer. The expected result is 403 Forbidden or 404 Not Found. A PHP page, the displayed source of the PHP file, or an error showing the result of code execution means that the blocking rule is not configured correctly.
Delete the file after testing. Also check several real media files, such as an image, PDF, or another format used by the site.
- If the file system permits it, test an extension using lowercase and uppercase letters.
- Test the URL without cache and account for CDN or proxy caching.
- Review the access log and error log to see the actual response status.
- Make sure the request is not being handled by another domain, VirtualHost, or fallback configuration.
curl -I https://example.com/wp-content/uploads/security-test.phpProtecting other upload directories
The standard WordPress directory is not the only one that needs protection. Plugins and custom modules may store files in separate directories, including subdirectories of wp-content, temporary folders, or dedicated form and media-library directories.
Find these paths by reviewing the site configuration, plugin documentation, and the actual URLs of uploaded files. For each directory, determine whether PHP execution is required. If it is not, apply a similar restriction at the web-server level.
At the same time, do not blindly block PHP throughout wp-content. Some WordPress components may contain service PHP files that are called by the server or WordPress. The rule should be limited to directories intended specifically for user-uploaded files.
- Check directories created by upload, form, and import plugins.
- Do not make unnecessary system directories writable.
- Regularly search media directories for unknown .php, .phtml, and similar files.
- Check file and directory permissions, but do not rely on permissions alone.
Common mistakes and limitations
The most common mistake is adding the rule to the wrong server or directory. For example, an .htaccess file may be placed in the site root while the Nginx configuration remains unchanged. Another problem is protecting only .php files even though the server or configuration supports alternative extensions.
A 403 response should not be treated as proof that the entire site is secure. An attacker may use a different file type, a vulnerable plugin, a stolen account, or a backdoor already present in another directory.
If images or documents stop opening after the rule is added, check whether the entire directory was blocked accidentally. If the site returns 500, the likely causes are a directive incompatible with the Apache version or a syntax error in the Nginx configuration.
- Update WordPress, themes, and plugins from trusted sources.
- Restrict uploads by permitted types, sizes, and user roles.
- Do not store secrets or backups in web-accessible directories.
- Keep a configuration backup before making changes and have a rollback plan.
What to do if PHP has already been found in uploads
Do not open the suspicious file in a browser or simply rename it. Record its path, modification time, and related requests, then isolate the file and check the site for other signs of compromise.
Review web-server logs, administrator accounts, recent file changes, and installed extensions. Passwords and access keys should be changed after compromised components have been cleaned or reinstalled. For an important site, consider involving an incident-response specialist.
- Do not delete all logs: they may be needed for an investigation.
- Check whether backdoors have been created in other directories.
- After recovery, test PHP blocking again in all upload directories.
Frequently asked questions
Is blocking only files with the .php extension enough?
It is an important baseline step, but not complete protection. You should also account for alternative executable extensions, the actual PHP-FPM or Apache configuration, and other upload directories. The key point is to verify that no file containing code is passed to the interpreter.
Will images stop working after PHP is blocked?
No, provided that the rule blocks only executable extensions. JPG, PNG, WebP, PDF, and other static files should continue to open as before. Problems occur if the entire directory is blocked accidentally.
What should I do if I do not have access to the Nginx configuration?
Contact your hosting provider or server administrator and ask them to disable PHP execution in wp-content/uploads and other upload directories. .htaccess has no effect on Nginx.
Why does the test PHP file return 404 instead of 403?
Both responses may be acceptable; what matters is that the code is not executed. A 404 is often used to avoid revealing that the file exists. Check the logs and make sure the response does not contain the result of PHP execution.
Conclusion
Disabling PHP execution in wp-content/uploads isolates one of the most dangerous failure scenarios: the ability to run an uploaded file with web-server permissions. On Apache, this can be implemented with FilesMatch and Require all denied; on Nginx, use a separate location block with deny all.
After configuring the protection, be sure to verify a 403 or 404 response for a test PHP file, confirm that normal media files still work, and protect other upload directories. Combine this barrier with updates, upload controls, restricted permissions, and regular log analysis.