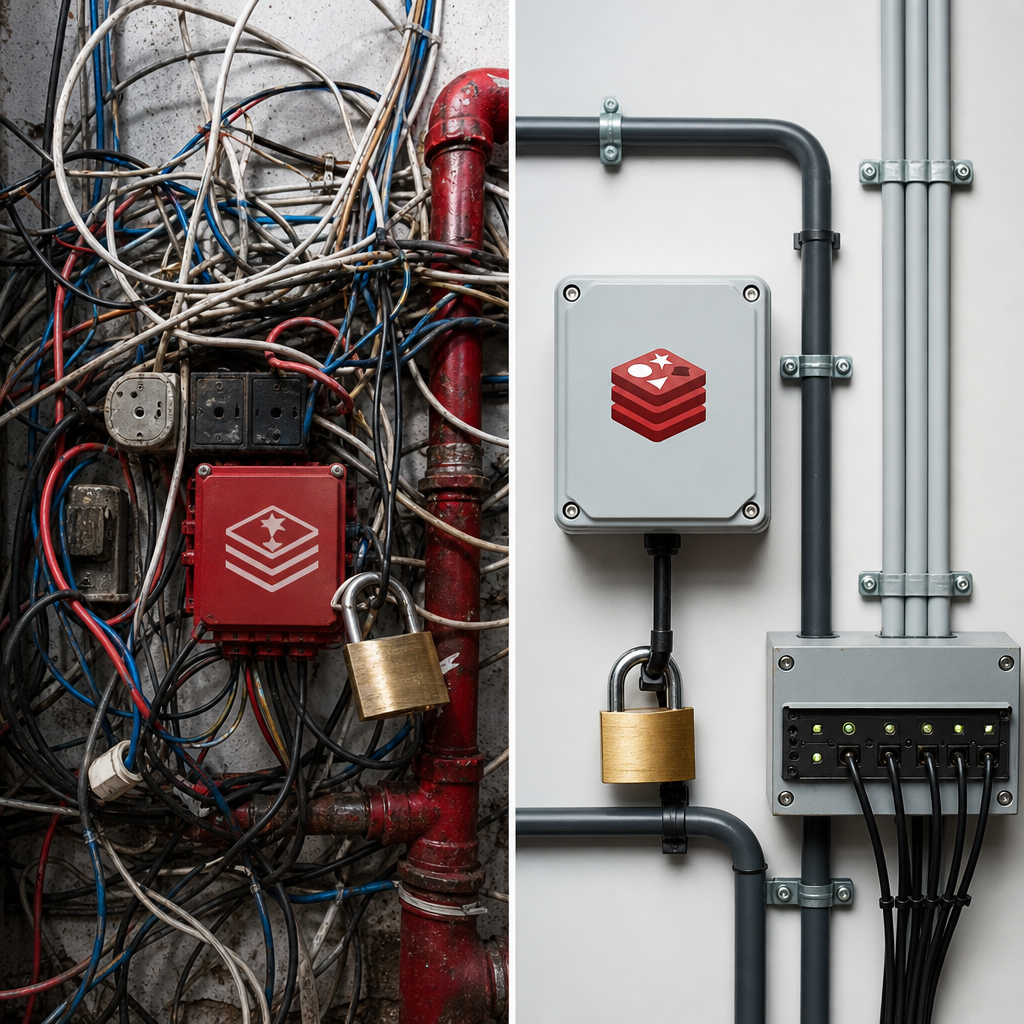
Redis is often used in WordPress as an object cache: it stores query results, settings, and other temporary data to reduce database load. This can speed up a site, including projects built with Elementor, but it also adds a separate service that must be secured.
The main rule is simple: Redis must not be directly accessible from the Internet. If port 6379 is open to external connections, an attacker may access the cache, modify its contents, read service data, or exploit configuration errors to continue an attack against the server.
Why an Exposed Redis Instance Is Dangerous for WordPress
Redis is not a public web service by default. It is designed for a local application or a restricted internal network. Port 6379 accessible from any IP address creates unnecessary attack surface.
Redis may contain object-cache keys, fragments of WordPress data, query results, and plugin-related service information. The cache does not always contain passwords in plain text, but reading or modifying it may help bypass application logic, cause errors, or conceal the consequences of an attack.
It is important to understand that Redis does not replace security for WordPress, the database, Elementor, or the web server. It is a separate process with its own network port, access permissions, and configuration.
- Redis should listen only on localhost, a Unix socket, or a private internal-network address.
- Port 6379 should not be exposed through a public firewall.
- Authentication and ACLs are an additional security layer, not a replacement for network restrictions.
- Redis should not run as root.
Check Where and Which Addresses Redis Is Listening On
First, check the actual service state rather than relying only on the configuration file. On Linux, you can use ss or a similar tool. If Redis is listening on 0.0.0.0:6379 or [::]:6379, it may accept connections through all network interfaces.
For WordPress running on the same server, the simplest option is 127.0.0.1. A Unix socket may be even safer for local communication if it is supported by the Redis client and caching plugin. If WordPress and Redis are hosted on different servers, use a private IP address or an isolated network instead of a public address.
The commands below show how to perform diagnostics. The systemd service name may vary depending on the distribution and the way Redis was installed.
- Check active listening ports: ss -lntp | grep 6379
- Check the service status: systemctl status redis-server or systemctl status redis
- Check the process user: ps -o user,pid,cmd -C redis-server
- View effective parameters through redis-cli locally only, if permitted by your access policy.
ss -lntp | grep 6379

# The preferred local result should look approximately like this:
# LISTEN 0 511 127.0.0.1:6379 0.0.0.0:*

# Check the local connection
redis-cli -h 127.0.0.1 -p 6379 ping
Restrict bind and Disable Unnecessary Network Access
Redis network settings are usually defined in redis.conf or in the configuration of a container or managed service. For local WordPress, binding Redis to 127.0.0.1 is generally sufficient. If IPv6 is used, check separately that the service is not listening on ::1 or on all IPv6 addresses.
Do not copy settings without checking the syntax and the way Redis is started. In Docker, Kubernetes, or a cloud service, access is often controlled not only by redis.conf but also by port-publishing settings, security groups, network policies, and load balancers.
After changing the configuration, restart the service and run ss again. Editing the file without restarting does not change the already running process.
- For a local installation, use bind 127.0.0.1 or a Unix socket.
- Do not use bind 0.0.0.0 without a clear need and network restrictions.
- Do not publish the Redis port in Docker with a construct such as 0.0.0.0:6379:6379 if WordPress does not require external access.
- Back up the configuration before making changes.
sudo systemctl restart redis-server
ss -lntp | grep 6379

# Example of checking local access
redis-cli -h 127.0.0.1 -p 6379 ping
Block Port 6379 in the Firewall
Even if Redis is bound to localhost, a firewall remains an important additional barrier. It protects against future configuration errors, changes to bind settings, or accidental publication of the port by a container.
For a server using UFW, do not add an allow rule for 6379. If the port has already been opened, remove the rule or deny inbound connections. Before making changes, ensure that you will not lose SSH access: firewall rules must be applied carefully, especially on a remote server.
If Redis genuinely needs to operate between two servers, allow the port only from the specific private IP address of the application. Do not use a rule that permits 6379 from 0.0.0.0/0.
- Check active rules: sudo ufw status numbered
- Remove an unnecessary allow rule for 6379 if one exists.
- In the cloud, also check the security group, network ACL, and private-network rules.
- In a container environment, check published ports and network policies.
sudo ufw status numbered

# Example of blocking inbound connections to Redis
sudo ufw deny in to any port 6379 proto tcp

# Check the firewall status
sudo ufw status verbose
Enable Authentication and ACLs
Network restrictions are the primary defense, but Redis should also be protected at the command level. Modern Redis versions support ACLs, which allow you to create a separate user for WordPress and grant only the operations it needs. This is better than using one shared password for all applications.
If ACLs are not available in your version or setup, use the authentication mechanism provided by the Redis configuration. The password should be long, random, and stored securely. Do not publish it in a repository, tickets, or openly accessible configuration files.
After enabling authentication, update the WordPress or object-cache plugin settings. The exact constant names vary by plugin, so use the documentation for your specific solution rather than random examples from the Internet.
- Create separate credentials for WordPress instead of using an administrative Redis user.
- Disable dangerous or unnecessary commands according to the capabilities of your Redis version.
- Do not leave test accounts or simple passwords in place.
- After changing ACLs, verify that WordPress can read and write the cache but does not have excessive permissions.
ACL SETUSER wp-cache on >REPLACE_WITH_A_LONG_SECRET ~* +@read +@write +ping

# Check the connection with credentials
redis-cli --user wp-cache --pass 'REPLACE_WITH_SECRET' -h 127.0.0.1 -p 6379 ping
Connect Redis to WordPress Securely
In wp-config.php or the object-cache settings, specify the internal Redis host. For Redis on the same server, this is usually 127.0.0.1 or localhost, but you must account for the runtime environment: in Docker, localhost inside the WordPress container refers to the WordPress container itself, not the Redis container.
Do not specify the server's public IP address if WordPress and Redis run locally or within the same private network. A public address may cause traffic to pass through an external interface, complicate firewall policies, and create a risk of accidentally exposing the service.
After making changes, clear the object cache using your plugin's standard tool or the command recommended in its documentation. Check the user's authentication, cache status, and WordPress logs. Do not delete arbitrary Redis keys on a production site without understanding the consequences.
- Use a private hostname or private IP address between servers.
- Keep secrets out of public Git repositories and do not print them to logs.
- Do not change the Redis configuration during peak traffic without a rollback plan.
- After configuration, verify that the site, authentication, and Elementor page editing work correctly.
Check Access from an External Network
The check should not be performed only on the server itself. Run it from another server or a home network that does not have access to localhost. The goal is to confirm that port 6379 does not respond from the Internet.
The nc command may show only that a TCP port is open, not that Redis authentication succeeds. For external testing, it is better to use several methods: nc, nmap, or an external port-monitoring service. The expected result is timeout, filtered, or connection refused, depending on the firewall.
Do not test Redis with commands that modify data unless you are certain of the address. Also, do not scan servers that you do not own or have permission to test.
- From an external network, check: nc -vz PUBLIC_IP 6379.
- Check IPv4 and IPv6 separately if the server has both types of address.
- On the server itself, verify that the local ping works with the correct credentials.
- Review the firewall and Redis logs after the test.
nc -vz -w 3 PUBLIC_IP 6379

# An nmap option, if it is installed
nmap -Pn -p 6379 PUBLIC_IP

# Local check after the external test
redis-cli -h 127.0.0.1 -p 6379 ping
Common Mistakes When Securing Redis
The problem most often arises not from a complex vulnerability but from a mismatch between configurations. For example, an administrator blocks the port in the firewall, but Docker continues publishing it through another network interface, or WordPress continues using old credentials after ACLs are changed.
Security must be checked after updates, site migrations, hosting changes, and backup restoration. Automated deployment may restore an old redis.conf or open the port in a new environment.
- Port 6379 is open to everyone instead of being restricted to a specific private IP address.
- Redis listens on 0.0.0.0 or all IPv6 addresses unnecessarily.
- Redis runs as root, uses a weak password, or uses one account for multiple sites.
- WordPress specifies a public IP address instead of an internal host.
- Read, write, and ping permissions were not checked after enabling ACLs.
- The port was tested only locally, so external accessibility went unnoticed.
Frequently asked questions
Do I need to enable a password if Redis listens only on 127.0.0.1?
Yes, preferably. Binding to localhost significantly reduces network risk, but a password or ACLs protect against other local processes, configuration errors, and future changes to network settings.
Can Redis be opened for the WordPress server?
Only on a private network and with access restricted to a specific IP address or network policy. Port 6379 should not be opened to the entire Internet, even when a password is configured.
What should I do if WordPress stops connecting after ACLs are enabled?
Check the hostname, port, username, password, and ACL permissions. Also review the object-cache and Redis logs. Do not disable all network restrictions; first identify which setting does not match.
Does securing Redis affect Elementor?
Elementor does not need public access to Redis. If Redis is used by WordPress as an object cache, simply check the site, admin login, and Elementor page editing after making the changes.
Conclusion
A secure Redis configuration for WordPress starts with isolation: use localhost, a Unix socket, or a private network instead of a public IP address. Then add a firewall, authentication or ACLs, a separate unprivileged user, and proper secret management.
The final check should include two tests: local Redis must work for WordPress, while port 6379 must not respond from an external network. Repeat these checks after updates, migrations, and changes to Docker or cloud infrastructure.